
Creating a Primitive Bowl
The article below shows us how to create a primitive bowl using fire, a knife, and a piece of deadfall log. The article is illustrated with photographs. This project is designed to be reproducible in a survival situation. This project is also part of Wolfmaan's primitive living and survival course.
The first part of the project is to find a piece of deadfall log. You are seeking a log without too many splits in it, as the bowl may need to hold water in the future. Choose a log that is oval shaped if possible, and fairly short. If necessary, you can use your knife to saw through the log and cut it to it's desired length.
You want to ensure use of a deadfall log as a live log will not properly burn and the project will take days instead of just a few hours.
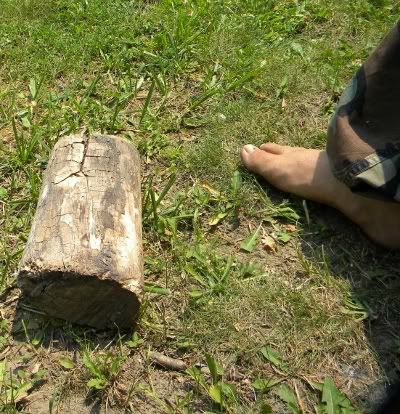
[select a deadfall log]
Next, select the spot on your log which will be the actual bowl. Inspect your log carefully to ensure you use the “worst” side. Small splits, cracks, or other imperfections are okay as they will be burned away.
Take your knife and chip away a small spot in the surface of the log. This will hold your embers and prevent them from rolling around off the log and potentially burning you badly.
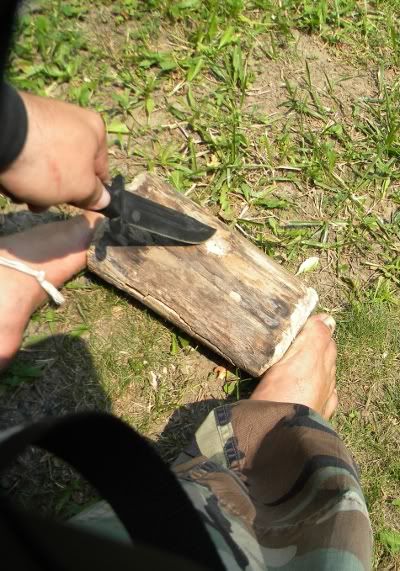
To be neat and appealing to the eye, I took my knife and whittled the edges of the log on the top, to make it look a little bit more finished. This is optional and will have no effect on the usefulness of your project.
Start a small fire. This will provide you with burning embers which will be needed for the project. If in a real survival situation the fire will need to be constantly tended to. For this project, the fire may burn itself out after you have created it. I used scrap wood for my fire as the intent is to create a series of hot coals.
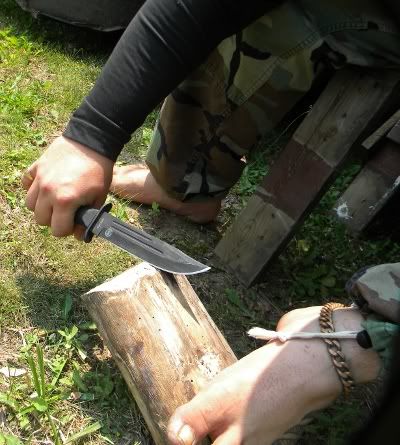
Once the fire has a bed of coals, *CAREFULLY* obtain some small embers. This can be done by using a long stick to knock the embers onto your knife, or if you have one, a shovel or other instrument. Be careful when handling embers as they can cause serious burns.
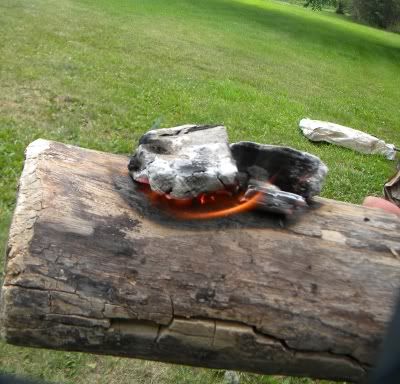
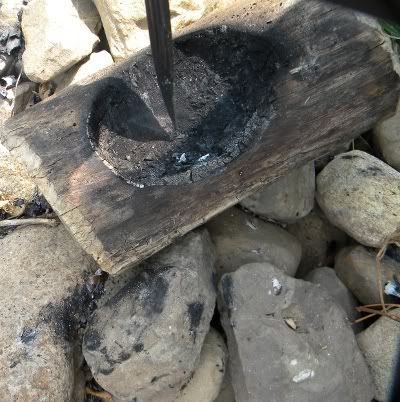
Place the embers on your log, and gently blow on them to make them glow red. The point is to get the log itself to start to smoulder and ignite in the center.

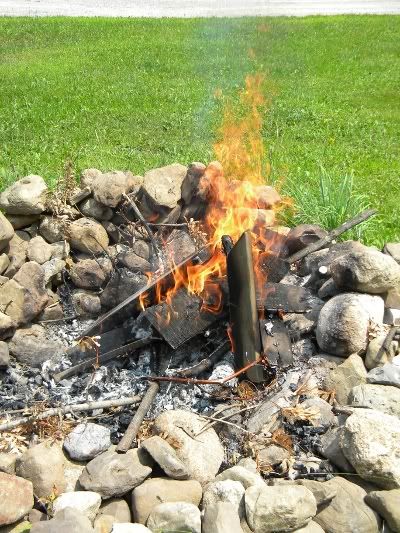
As you can see by the following photo, a small fire may erupt on your log. This will simply accelerate your progress. Beware if the fire starts to get too large, your bowl will not grow deep, but large and shallow. This will not be as useful when it has been completed.
When your embers have burned themselves out, return them to your fire pit. While there, use your knife to dig out the log. Dig only the center of the log, and leave the charred edges intact. This will encourage your log to burn deep, rather than wide.
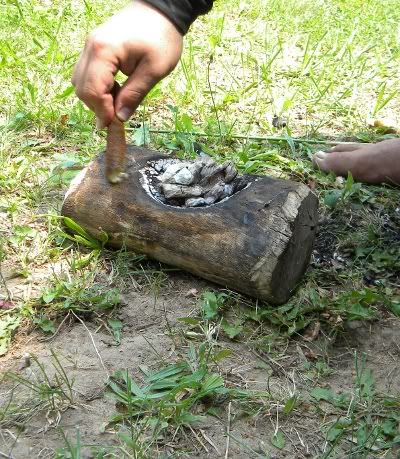
Load your log with new embers, and allow them to burn. Help the process by blowing air onto the embers and ensuring that they glow nicely.

By now you should see a clear round or oval shape of your bowl begining to come to life. The embers will start to sit in the log, rather than on the log. This means the project is coming along.

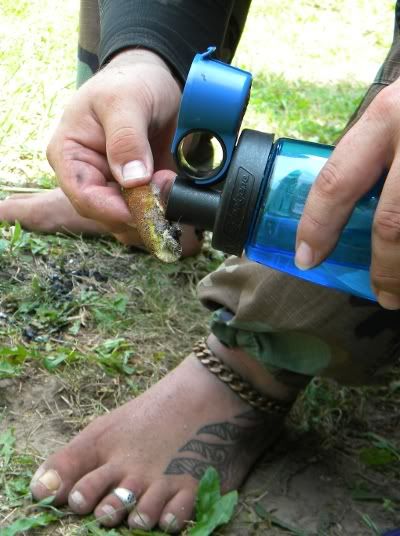
To ensure your log burns deep and not wide, ensure that the edges of the log are kept damp. In a survival situation cat tails will act like a sponge and hold water in, to be smeared around the log. Avoid pouring water on the log as it will undoubtedly be drawn to your embers and attempt to wreck your project. Wipe the edges of the log frequently to ensure your bowl becomes deep.
After several replacement embers, and scrapings, your log will start to take shape. When feel the bowl is deep enough, dispose of your embers into the fire pit and scrape the bowl out completely. It may take a bit of work to get all the pieces of burnt log out of your bowl. Be careful not to scrape too hard or you will have ruined the afternoons work.
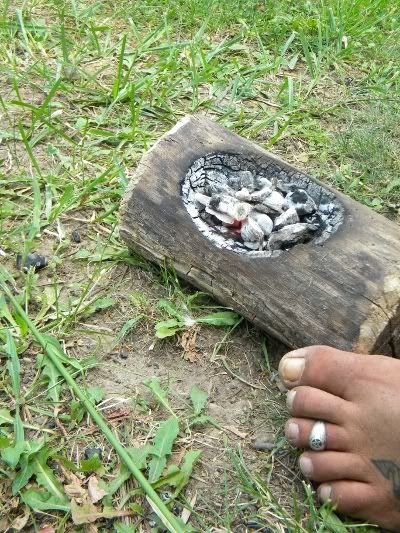
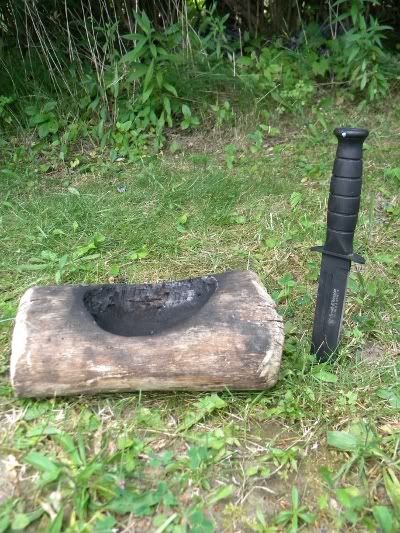
Your completed bowl should look similar to the one below. A nice, deep hollow should be in the middle of your log. This can take several hours to accomplish and gets better with practice.
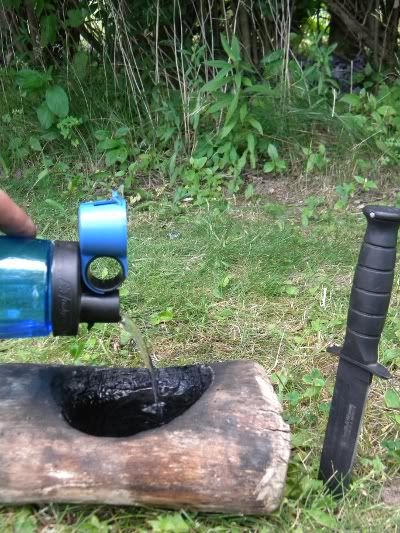
Once you are satisfied with your bowl, fill it with water to ensure it will not leak, and to ensure that there is no smouldering still taking place.
There are many things you can do to finish your bowl. You can use a rough rock to grind out more of the inside and make it smoother. You can even use natural resins to put a finish on the bowl so it can be more useful. If you have the time you can whittle the exterior and make it more bowl shaped. The possibilities are endless. This is only a beginners guide to creating primitive bowls.
Once completed, this bowl may be used for dozens of things around your campsite. It can be used for holding drinking water. It can even be used for transporting embers to a new campsite if you have no way of starting a new fire.
The log bowl takes a lot of time to make. In a survival situation this is a good thing as it helps occupy the mind and keep it sharp. Boredom in can be your worst enemy. Please comment on this article, and “Digg it” if you feel it may be of use to others.
PLEASE NOTE: There is a possibility of cuts from your knife, and burns from fire embers. Please use caution and care when using sharp objects, and working around fire! If you choose to use any methods in this article – Wolfmaan.com and it's affiliates are not responsible for damages caused directly or indirectly from use and misuse of this article and it's directions.


No comments:
Post a Comment